How To Make Vintage Ornament "Sprigs"
8:28 AM
Hello!

Today I am going to show you how I made the ornament "springs" that I added to this basket of branches. I love when something comes about totally without a plan, and this is what happened here. I ordered the large branch sampler from Balsam Hill. The branches were spread out on the floor in our front room. It was Thanksgiving morning, and I needed to find somewhere to put them. Knowing that the branches wouldn't easily fit back in the box I searched my brain for something I had around the house that they could be put in. This vintage basket seemed like a great choice. After lining the inside of the basket with Target dollar polka dot kraft wrap things were looking much tidier, and I had the start of something special. Of course, you could also use fresh greens of your choice for this project too!

Here we are in the beginning. Basket ready. Looks great, but soon after I felt like it needed a little something. That is when I remembered a project where something not working turned into something I thought was really neat. My sprigs were really a paper tree fail. I think I had tried to assemble one starting at the top to see how that would go. It didn't go well. I took apart what I had started, but the glue from attaching the ornament stuck to the first square of paper. Hmmm... I liked it!

I decided to make a bunch of sprigs to add to my branches. This is what you will need.
Very small vintage ornaments
old dictionary pages cut into squares
(1 had 2 sizes of ornaments so I cut the papers in 1" squares and 1 1/2" squares)
12" bamboo skewers (mine are by everyday living 100ct. - don't use the super skinny skewers - too frail - I think World market has the heftier ones - and maybe a cooking store)
Elmer's school glue


Remove the hangers from the ornaments.

Holding a skewer in your hand poke the pointed end through the middle of a paper square.
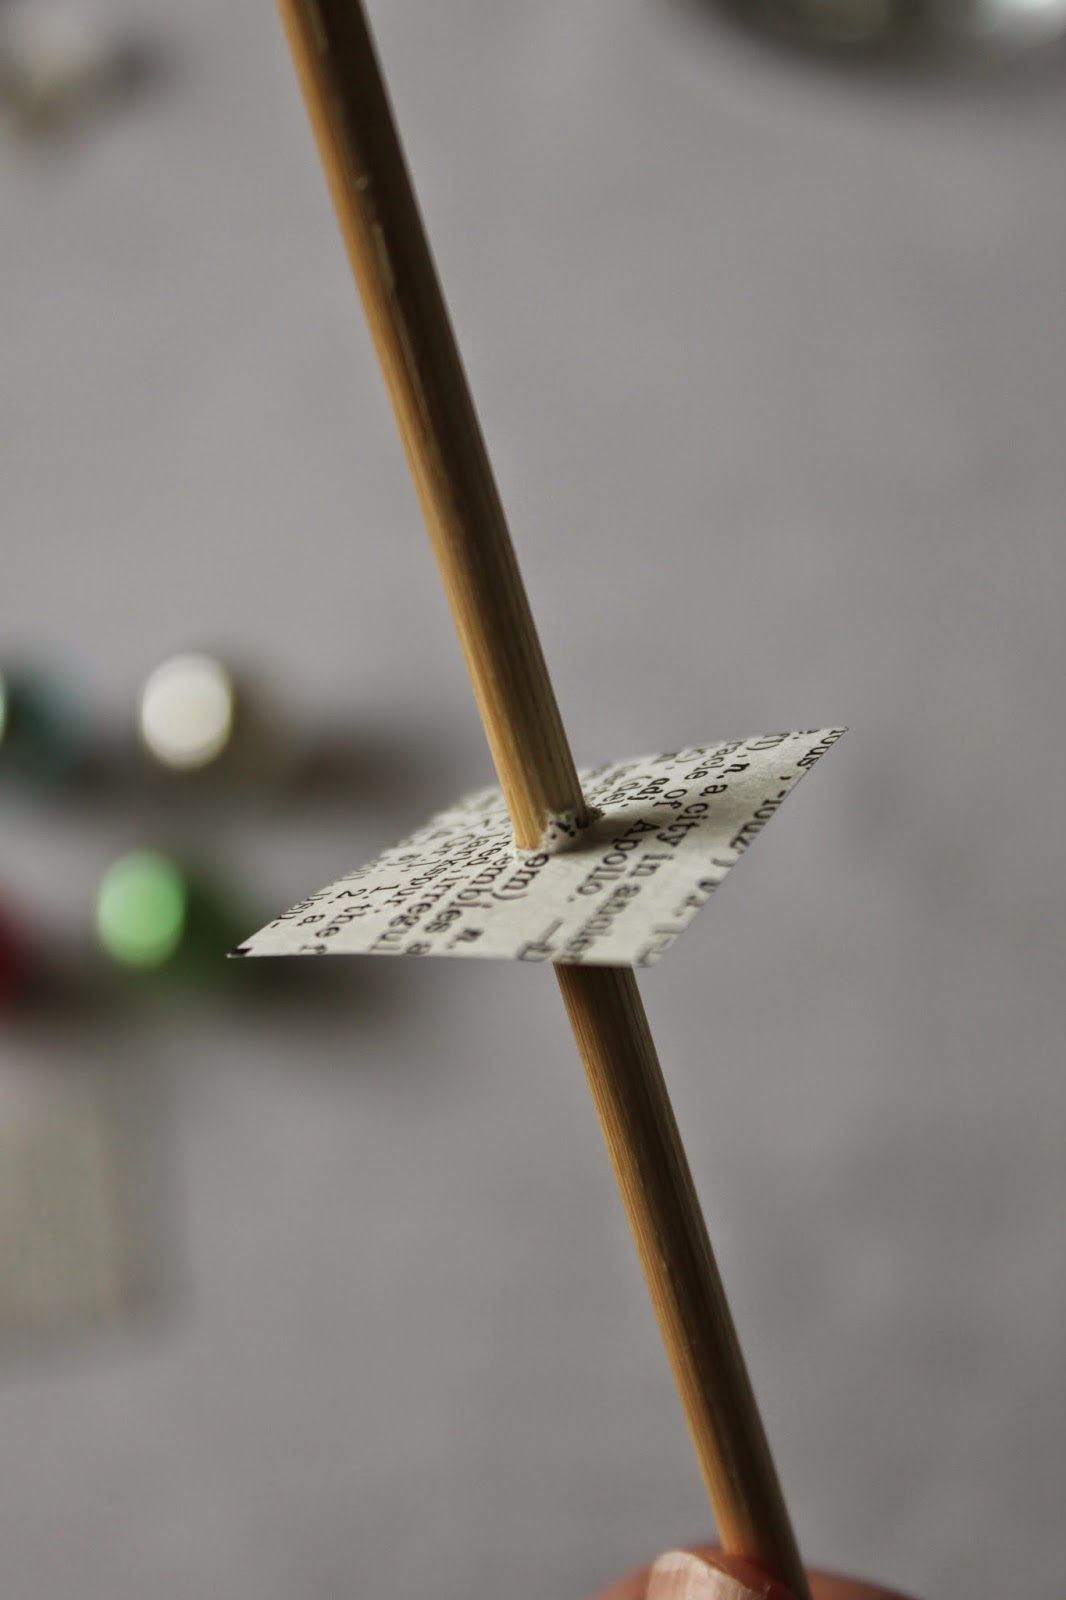
After the skewer is through the paper you can either take the paper off the skewer and flip it over so that the ragged side of the paper isn't facing up or you can just leave it. It is not something you will ever see anyway.

Dab a bit of glue on the end of your skewer. You can also dab it in the end of the ornament. It is also good to actually take the glue on the skewer, and push it down a little more with the end of your glue cap just so more of the skewer is covered. That way the ornament will stick better.

Pop the ornament on top. Wipe off excess glue with your finger, or also if it's just a little you can leave it. The paper needs to stick to it, and it dries clear.

In no time you will have made a whole bunch of adorable sprigs to use as you please. They even look cute in a vase all by themselves. I have also tucked them into my pinwheel bouquets.


Just a few more photo's to leave you with.
Basket - vintage vegetable
Silver Orb - Home Goods
White sweater vase - Jo-Ann Fabrics
Branches - Balsam Hill.


1 comments